Fire restrictions hit Colorado almost every summer now. Between June and September, the campgrounds I use in the San Juan and White River National Forests have been under Stage 1 or Stage 2 fire bans for the majority of my trips over the past four years. That means no campfire, no charcoal, no fire starters. If you show up unprepared, you're eating cold food in the dark. I've been that person exactly once. After that trip, I built a no-fire lighting system that works as well as any campfire I've ever sat around, maybe better, because nothing in it turns into ash at 2 a.m.
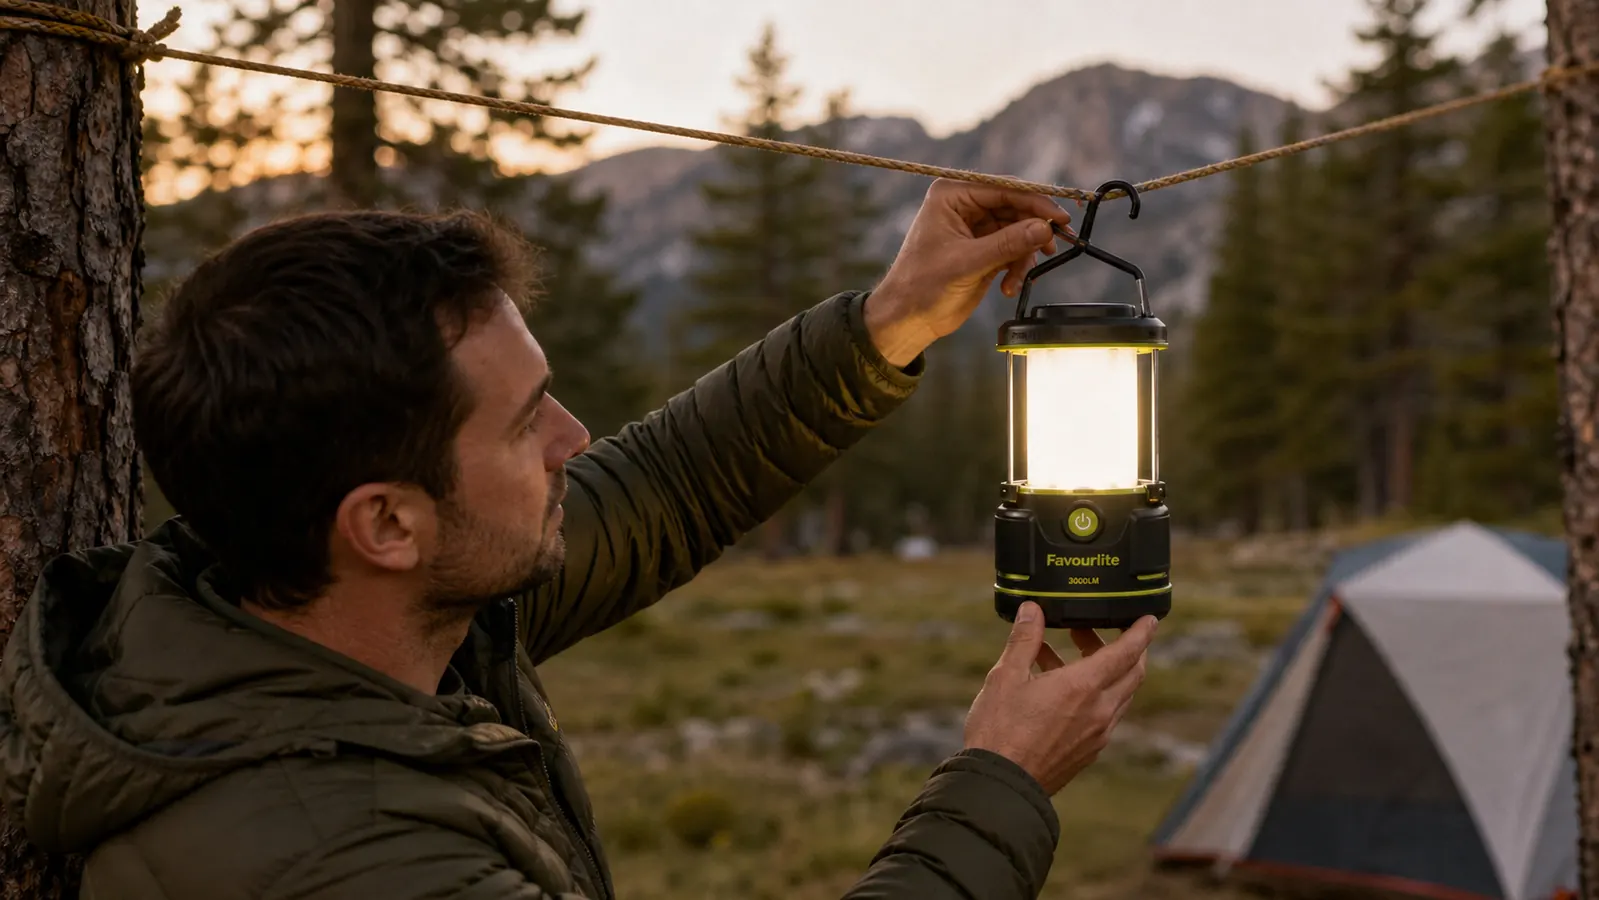
This guide walks through the exact five-step setup I use. The centerpiece is the Favourlite rechargeable LED lantern, which puts out 3000 lumens at peak, charges via USB-C, and doubles as a phone charger when you run low. I've brought it on 11 trips since last summer. But this is also about the full picture: where to position your light sources, how to handle task lighting and walkway lighting separately, and what to pack as a backup so you're not scrambling when a headlamp battery dies at midnight.
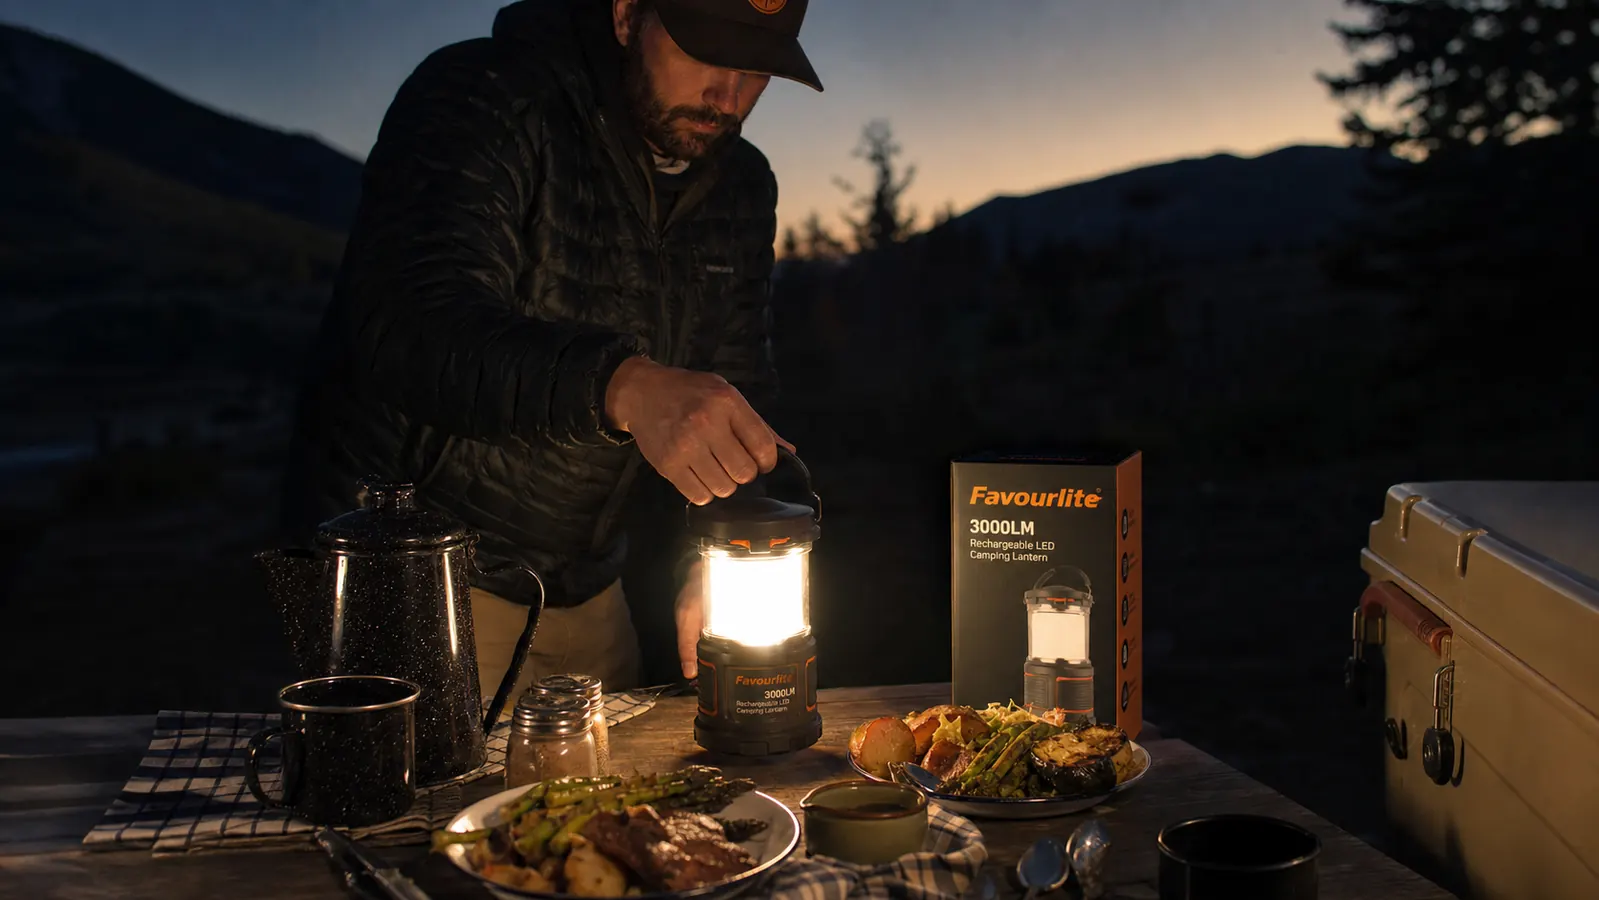
Skip the dead batteries and dark campsite: the Favourlite lantern is the one piece of gear that changed my no-fire nights.
3000 lumens, 4400mAh built-in charger, five light modes, USB-C rechargeable. Rated 4.4 stars across 1,500+ Amazon reviews. Check today's price before you head out.
Amazon Check Today's Price on Amazon →Step 1: Check the Current Fire Restriction Level Before You Leave Home
This sounds obvious but I still see people show up to a campground and argue with the camp host about a ban they didn't know existed. Stage 1 restrictions in most Western national forests prohibit open campfires but allow stoves using gas, liquid fuel, or sterno. Stage 2 bans can prohibit everything that produces an open flame or spark, including some lantern types. Know what you're walking into before you pack.
For Colorado, I check two sources: the specific forest's fire restriction page on fs.usda.gov, and InciWeb for any active fires nearby that might escalate the restriction level mid-trip. If I'm heading to a state park instead of a national forest, I check Colorado Parks and Wildlife directly, because the restriction levels don't always match. Takes five minutes at home and saves a ruined trip. Set a reminder the night before departure, not the morning of, when you're already throwing gear in the truck.
Step 2: Set Up Your Central Lantern as the Campsite Anchor
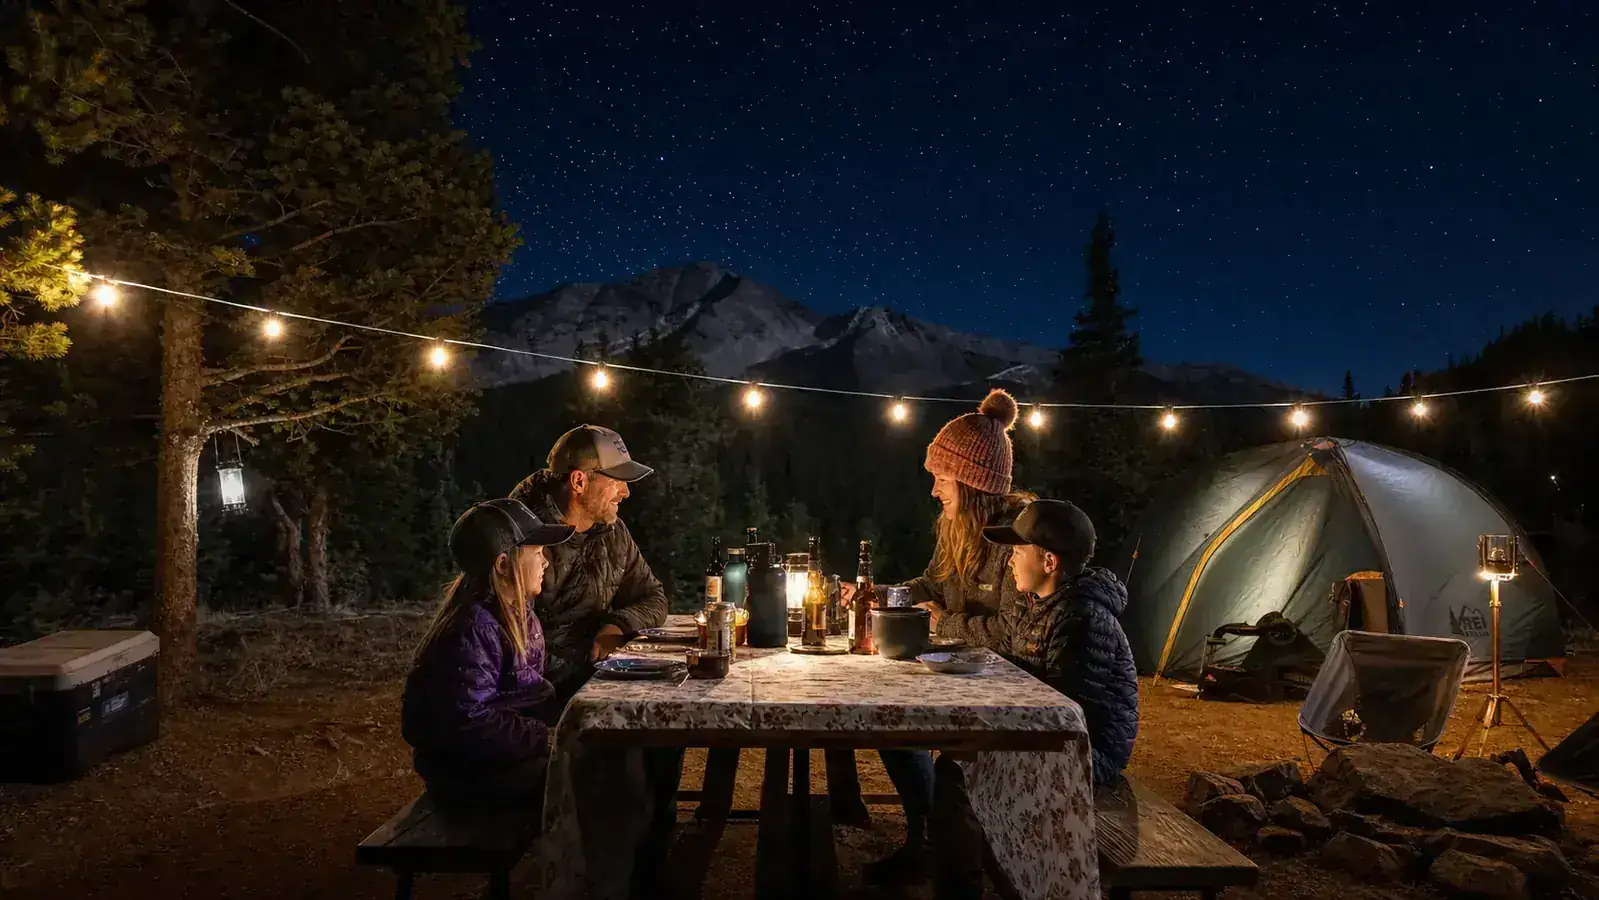
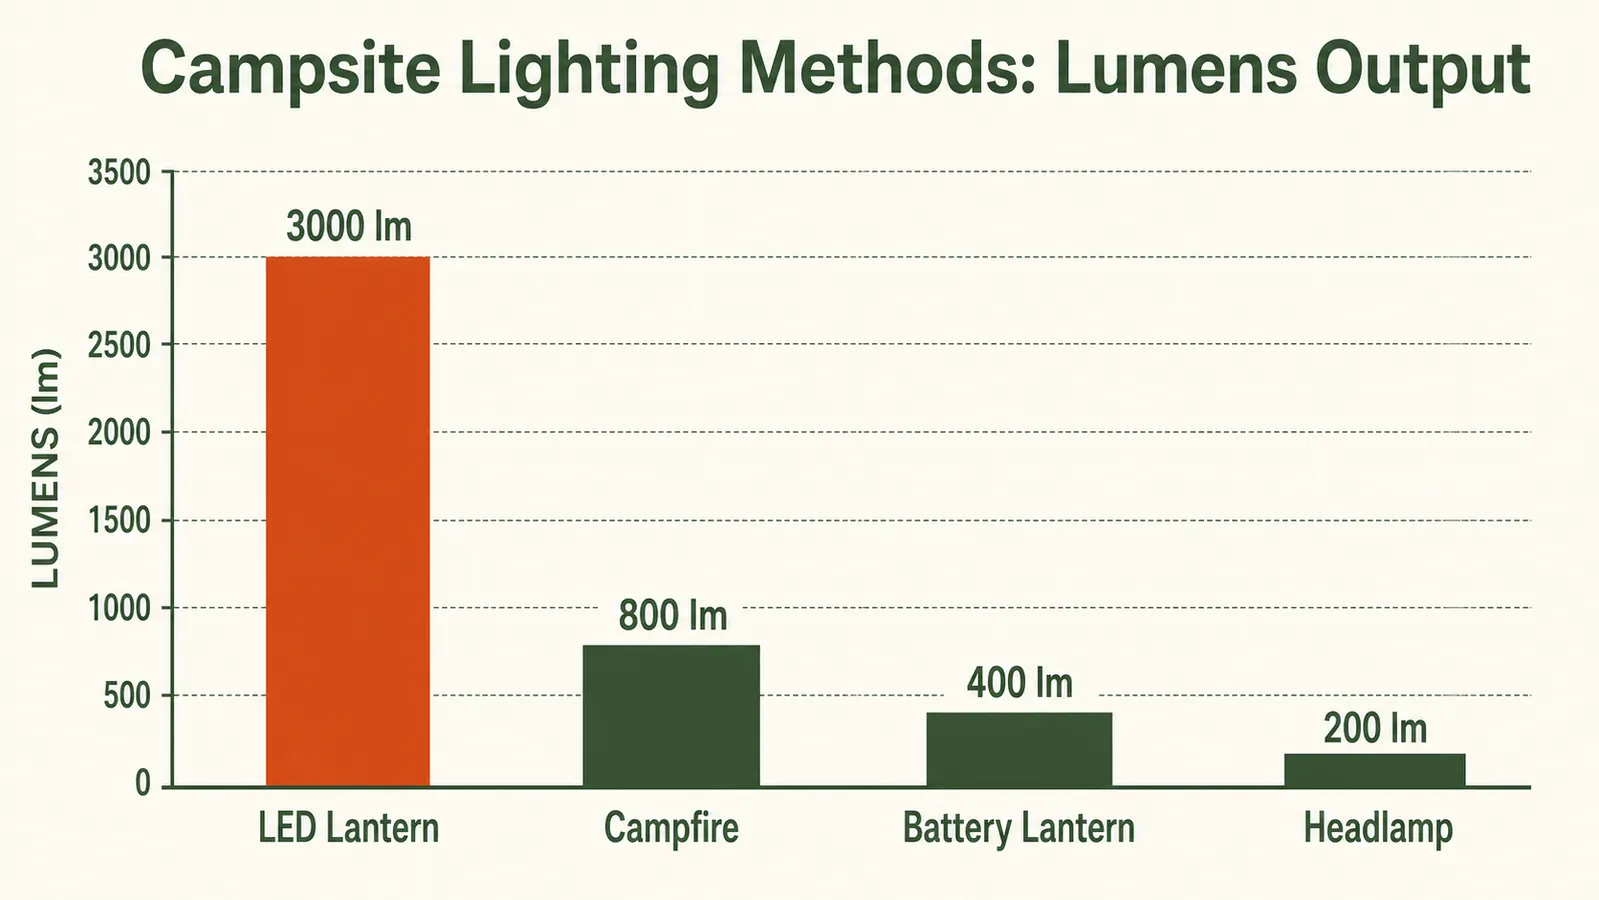
The central lantern is what replaces the campfire as the social anchor of the campsite. It goes on the picnic table or hung from a tarp ridgeline above the cooking and dining area. This is where the Favourlite earns its keep. On max brightness (3000 lumens), it lights up a 20-foot radius well enough to cook, read, and move around without squinting. I usually run it on medium (around 1200 lumens) to stretch battery life, which at that setting gets me eight to nine hours on a full charge.
One practical note: the Favourlite has a collapsible handle and a hanging loop at the top. I thread a bungee cord through the loop and clip it to my cooking tarp ridgeline at about head height. That position throws light down onto the table surface rather than creating glare at eye level when you're sitting. If you're car camping with a picnic table, the rubber base keeps it stable on the table without sliding. It also has a USB-A output port on the side, so I route a charging cable to my phone from there while we eat. One device, three jobs: area light, task light, phone charger.
Step 3: Add Task Lighting for the Cook Area
The central lantern handles ambient light well, but when I'm actually cooking, I want dedicated light aimed directly at the stove. Shadows from the lantern above can hide what's happening in a pan, which matters when you're trying to tell if chicken is cooked through at 9 p.m. My solution is a clip-on LED work light that attaches to the side of my Coleman Triton stove's lid or to the tarp pole nearest the stove. Any 200-plus-lumen clip light works for this. I use a Black Diamond Sprinter headlamp in clip mode, which gives me a narrow, bright beam pointed exactly where I need it.
If you only want to carry one device, switch the Favourlite to its focused-beam mode (it has a spotlight setting that narrows the output) and position it closer to the stove. You'll lose some ambient coverage, but it works for solo or two-person camps. For groups of four or more, I'd run the lantern for ambient and a second dedicated task light at the stove. The cook deserves to see what they're doing.
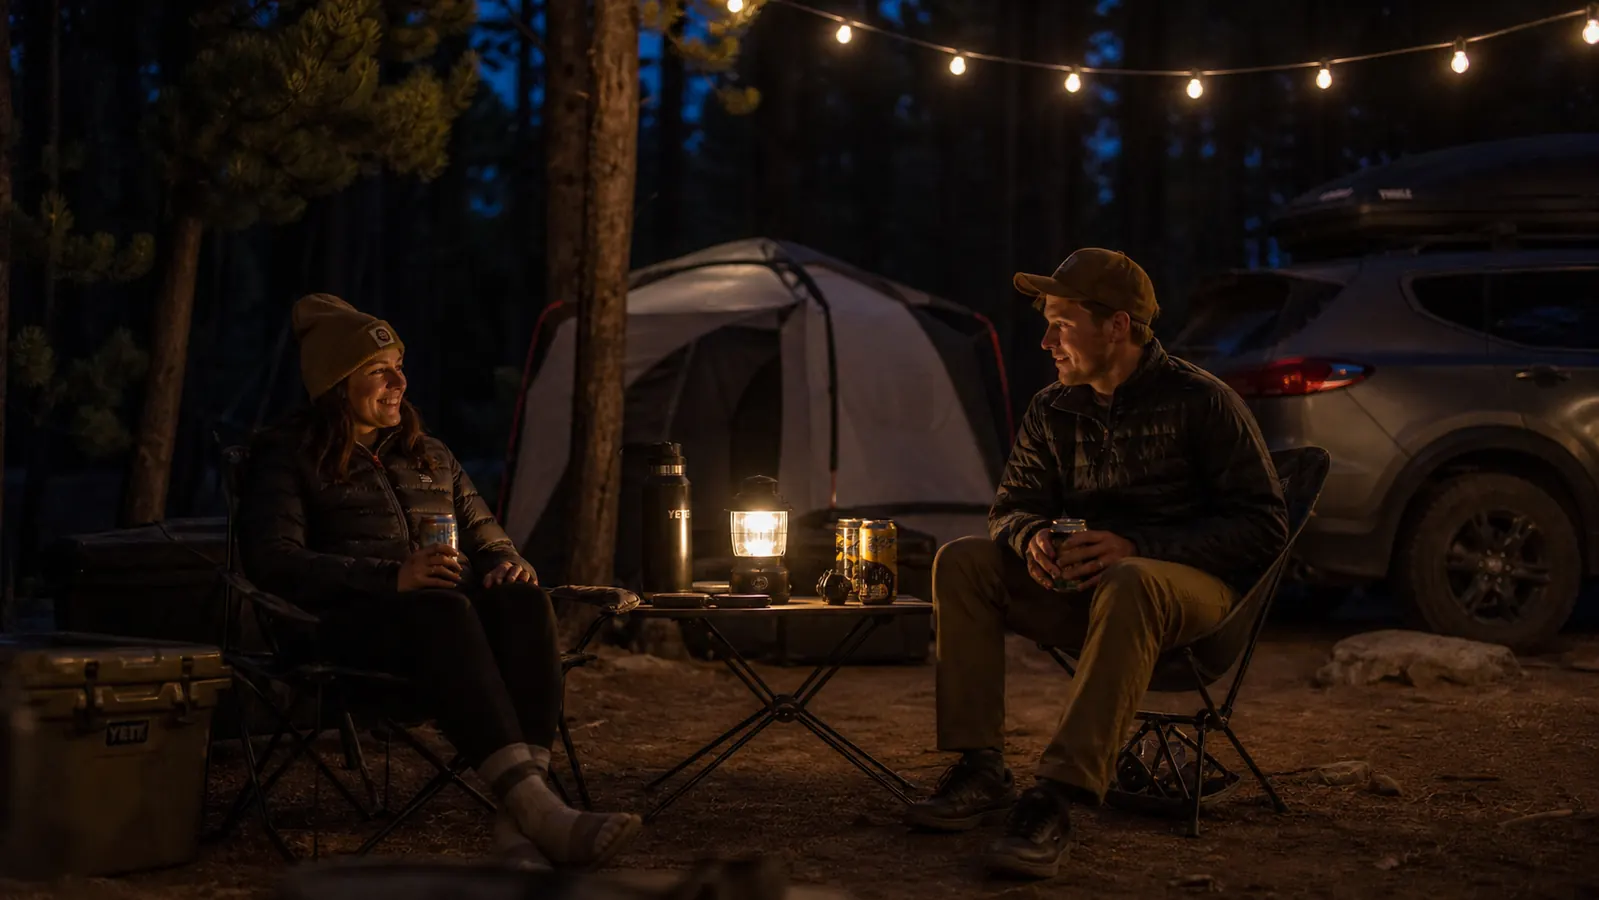
The campfire isn't just light, it's a psychological anchor. When you replace it with a good lantern positioned at the right height, you get most of that same effect without the smoke and the ash and the 10:30 p.m. frantic pour of water before you can go to sleep.
Step 4: Mark Your Walkways and Tent Entrances
Tripping over a tent stake at midnight is how camping trips end badly. No campfire means no ambient glow from the fire ring to orient yourself when you're walking back from the pit toilet at 2 a.m. I handle this with two methods: reflective stake caps and small solar ground lights.
Reflective stake caps slip over any standard tent stake and catch any ambient light, including headlamps, to mark the tent perimeter. They weigh almost nothing and live in a small zip bag in my stake kit permanently. For the walking path between the tent and the cook area, I push three or four Momax solar stake lights into the ground to mark the route. They charge during the day and put out enough light to see the ground without flooding the whole campsite. Total cost for a set of six is usually under $15. This is the piece most campers skip and shouldn't.
I also zip-tie a small red-mode blinking light to the guy-line of my tent nearest the walking path. Red light doesn't destroy night vision the way white light does, and it makes the tent boundary obvious to anyone walking the site, including other members of your group who've been at the campsite bar longer than they should have been.
Step 5: Pack a Redundant Light Source and Charge Everything Before You Leave
Every serious camper I know has a story about a primary light source failing at the worst possible moment. Rechargeable gear is great until it isn't. My redundancy is a 4-pack of Energizer lithium AA batteries sealed in a waterproof bag and a cheap 300-lumen battery-powered backup lantern. It stays in the bottom of my camp box and I haven't needed it in two years. But the two trips before that, I needed it both times.
The bigger habit is charging discipline before the trip. The Favourlite charges fully in about four hours via USB-C. I plug it into my home wall charger the night before any trip and check the indicator lights in the morning. If it's not at full charge, I know before I load the truck. My headlamps get fresh batteries before every trip, not recycled batteries I'm hoping still have enough charge. Lithium batteries in headlamps (AA or AAA) give notably more consistent output in cold temperatures than alkaline, which matters above 8,000 feet in Colorado where September nights can drop to 28 degrees. That's a real difference, not a marketing line.
What Else Helps: Supporting Gear Worth Adding
A few additions that make the no-fire setup noticeably more comfortable. First, a small string of battery-powered LED fairy lights strung inside your tent creates useful ambient light for reading, organizing gear, and settling the kids before sleep. They draw almost no power and the diffused light is easier on the eyes than a headlamp pointed at the ceiling. Second, a small USB battery bank (10,000 mAh or larger) doubles as a backup charger for the Favourlite and your phone. I keep one in my cook kit bag. Third, a tarp or canopy above the cook area with reflective underside bounces the lantern light downward instead of losing it to the sky, which meaningfully increases perceived brightness at table level without increasing your power draw.
None of these items are expensive or heavy. The tarp you probably already have. The battery bank is useful on every trip, fire ban or not. The fairy lights are a genuine comfort item that costs less than a bag of ice. For families, that last one matters more than it sounds: a softly-lit tent feels like a safe, calm space when you're wrangling a tired eight-year-old who wanted to roast marshmallows and can't. Give them an alternative ritual. Kids adapt quickly when the environment feels intentional, not like something was taken away.
If you want a deeper look at how the Favourlite performs across multiple trips, with specifics on battery life in cold temps and how the phone charger holds up, that's covered in the full Favourlite camping lantern review. And if you're still on the fence about switching from battery-powered lanterns entirely, the 10 reasons rechargeable beats battery-powered piece walks through the math and the practical differences in detail.
The Favourlite is the one piece of gear I don't leave home without when a fire ban is possible, and in Colorado, it's always possible.
3000-lumen LED, USB-C rechargeable, built-in 4400mAh phone charger, five light modes including red night-vision mode. Rated 4.4 stars from 1,500+ verified buyers. Check today's price on Amazon.
Amazon Check Today's Price on Amazon →